
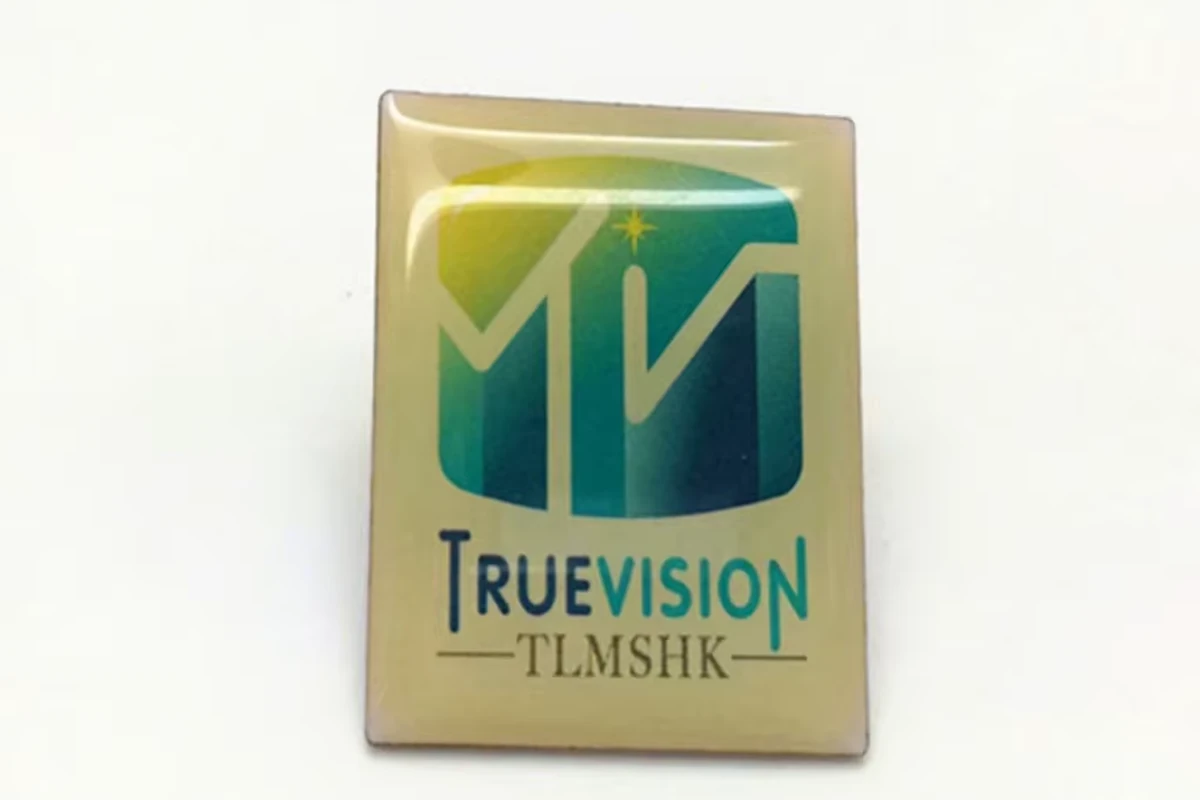
Choose the process around the artwork you need to preserve and the physical surface you want. A printed pin is a route to discuss when continuous shading, photographs or closely arranged graphic detail are essential. Enamel is a route to discuss when distinct color areas, visible metal outlines and the resulting surface are part of the design. Compare actual interpretations of your file before deciding.
Two pins can use the same logo and still communicate differently. One may reproduce the original image closely; another may reinterpret it as separated color areas and metal detail. The decision is whether that reinterpretation serves your project, not whether one label sounds more premium.
1. Separate the picture from the physical object
A digital image describes color and layout. It does not fully describe the metal base, surface treatment, attachment or packaging. When asking for a printed pin or an enamel pin, write down both the image requirements and the intended object.
| Requirement | What to identify in your file | What to discuss on the sample |
|---|---|---|
| Photographic identity | Face, object or scene that must remain recognizable | Which details remain clear at the finished dimensions |
| Continuous color | Gradient, shadow or soft transition that carries meaning | How the selected printing method and surface render it |
| Graphic emblem | Separate colors, outline and key lettering | Whether a metal-bound interpretation preserves the identity |
| Surface character | Desired smoothness, relief, gloss or coating | Actual appearance and feel, including reflections |
| Presentation | Wearing position, backing card or gift format | How the complete product is handled and viewed |
Printed construction can differ between suppliers and products. PINS describes UV-printed and offset-printed routes, including coated examples. That is a reason to ask what is proposed, rather than assuming every printed pin has the same surface or construction.
2. Mark what must stay and what can change
Start with an unedited master file. Mark the elements that define success: perhaps a person's expression, a brand color relationship, a long club name or the silhouette of a character. Then identify details that can be adapted.
Use a three-column review rather than a general instruction to “keep all the detail.” A tiny background shadow and the organization name may not deserve equal priority.
| Element in an illustrative design | Buyer priority | Consequence for the comparison |
|---|---|---|
| Full organization name | Must retain exact wording | Compare legibility in both proposed layouts |
| Soft sky gradient | Must retain the transition | Include an appropriate printed proposal |
| Decorative border | May be simplified | Ask to see the altered border before approval |
| Outer silhouette | Keep its recognizable proportions | Review any outline adjustment separately |
| Background texture | Open to alternatives | Compare whether it helps the finished-size design |
This is a hypothetical brief, not an actual customer design. Its value is the way it makes priorities explicit. If everything is described as essential, the manufacturer has little basis for proposing a meaningful alternative.
Have your internal brand approver agree on the priorities before requesting multiple proofs. Otherwise, a production discussion can turn into a series of contradictory aesthetic requests.
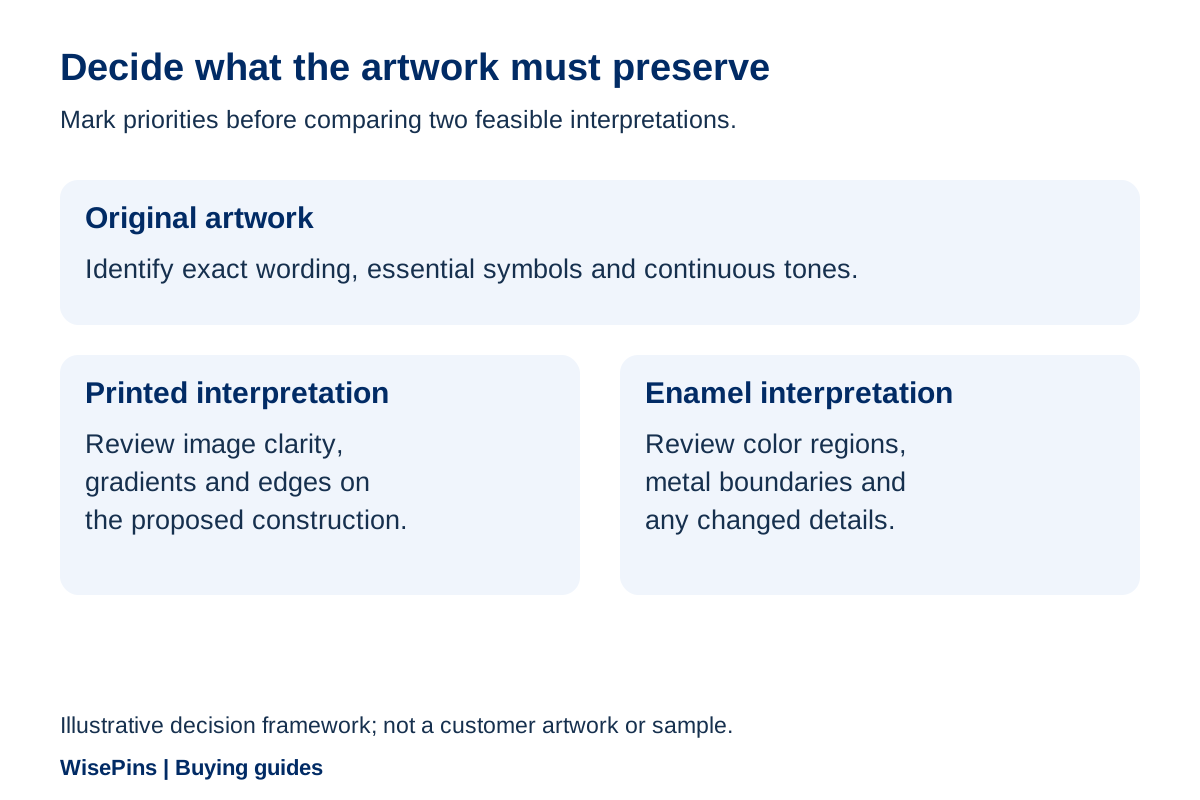
3. Compare two interpretations of the same artwork
Ask for a printed route and an enamel route only where both are relevant. Keep the intended finished size, exact wording, essential symbols and quantity fixed. Label changes required by either route instead of treating them as invisible technical corrections.
Conventional enamel color areas are separated by metal boundaries. A continuous-tone illustration therefore needs a different treatment from ordinary solid enamel fills. Signature Pins explains the raised metal and filled-color structure. That basic difference is more useful than comparing two heavily retouched product photographs.
For the printed proposal, ask what happens to gradients, small reversed lettering and the edge of the artwork. For the enamel proposal, ask how the illustration becomes distinct color regions, which metal lines will be visible, and whether the wording needs rearrangement.
A helpful response shows the proposed change on the drawing. “This shading becomes three flat color areas” is clear enough for a buyer to evaluate. “We will optimize your design” leaves the buyer unsure what will arrive.
If one interpretation fails an essential requirement, remove it from the shortlist. Do not keep requesting a lower price for a version your organization cannot approve.
4. Check the surface, coating and metal specification
“Printed” and “enamel” do not fully define the product. Ask the quotation to identify the base material, the proposed image process, exposed metal, any coating, the attachment and packaging.
WisePins offers UV and offset printing, soft and hard enamel, finish options and epoxy coating, with suitability confirmed for the design. This range does not mean every material, coating and process can be combined freely. Treat a proposed combination as its own specification.
Check these distinctions on a representative sample:
- Whether the face is flat, recessed, raised or domed as proposed.
- Whether the visible metal border is intentional and included in the approved outline.
- How reflections affect important text or imagery at normal viewing angles.
- Whether a surface layer changes the appearance or handling you expected.
- Whether the reverse, attachment and package are the versions quoted.
Do not use a smooth-looking front photo as proof of coating thickness, scratch resistance or material composition. If one of those requirements matters, state it before pricing and agree suitable evidence. The image process alone cannot answer it.
5. Use the finished-size comparison to make the decision
First use paper proofs to screen the artwork. Print each proposed layout at its specified dimensions and verify the print scale. Place the alternatives beside one another, then check the wording, silhouette and essential image features without relying on an enlarged screen. A paper proof does not reproduce the pin's actual color, metal reflections, coating or feel; those checks belong to the physical sample stage.
| Review stage | What you observe | Productive next decision |
|---|---|---|
| Actual-size artwork proof | A photographed subject loses its identity when simplified | Revisit the printed route or a different composition |
| Actual-size artwork proof | The enamel interpretation remains recognizable and has the desired outline | Continue to sample review of that construction |
| Actual-size artwork proof | Fine text is unclear in both versions | Change the layout, text hierarchy or size before choosing a process |
| Physical sample | The image works but the surface feels wrong | Review coating, relief or another construction rather than only editing the file |
| Artwork proof followed by sample | Both versions meet the image and physical requirements | Compare matched quotations, sample quality and the full presentation |
These two stages separate an artwork problem from a manufacturing-route decision. A readable paper proof is a reason to continue the review, not proof that the manufactured pin will reproduce every detail. Changing the process cannot by itself make an overcrowded message readable. Our artwork preparation guide explains how to organize files, dimensions and revision notes.
Once you decide that an enamel interpretation preserves the artwork you need, compare soft and hard enamel surfaces to choose the feel and appearance. That is the next decision within the enamel route; keep the approved image priorities in view while making it.
6. Compare the full quote, not a presumed price hierarchy
Do not assume printed pins always cost less, or that the more expensive process is the better fit. Compare the proposed specification, quantity per design, development charges, attachments, packaging and delivery scope.
Send one comparison brief and request identified alternatives:
Artwork revision and essential details: [identify]. Finished dimensions: [width × height]. Quantity per design: [state]. Please quote a suitable printed interpretation and, if feasible, an enamel interpretation. Identify artwork changes, material, surface/coating, backing, packaging, sampling charges and delivery scope separately. Do not substitute a different presentation without marking the change.
If a printed quotation includes a clear coating and card mounting while an enamel quotation covers only the pin, those prices do not isolate the process difference. Ask for the changes to be separated or for matched inclusions. Use the quote comparison checklist to calculate the comparable total.
At WisePins, the minimum is 500 pieces per design, with different designs counted separately. Ask how a proposed artwork or color variation will be classified before combining quantities in your budget.
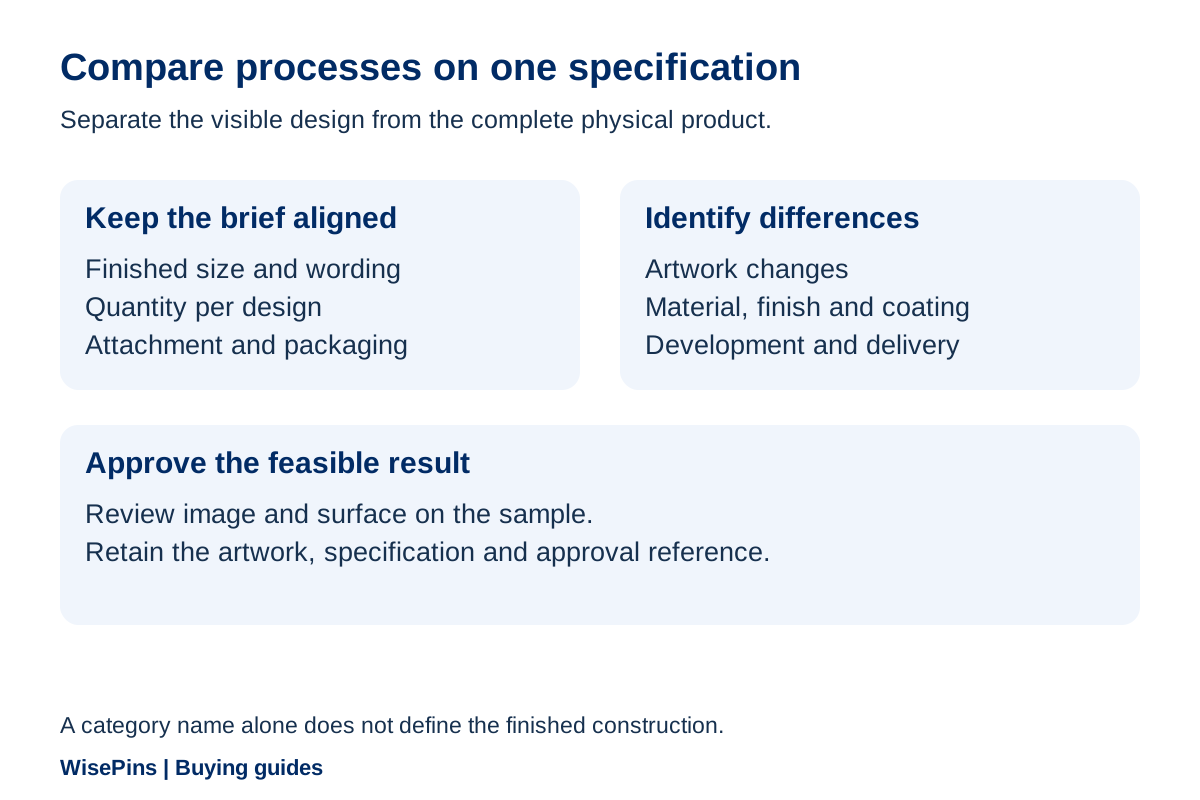
7. Approve the actual interpretation on a sample
Artwork approval should identify the selected route and the exact revision. Record changes to gradients, lines, color regions and text placement. Then compare the physical sample against that drawing and its specification.
Ask the reviewer to answer three separate questions: Is the identity correct? Is the physical appearance appropriate? Is the product complete with its agreed backing and packaging? A pin that passes one question may still need work on another.
Photograph a concern with a full view and a marked close-up of the same sample. Explain the result you need: retain the full wording, reduce a distracting reflection, or clarify a particular detail. Ask which change is proposed and whether it affects cost, dimensions or timing.
WisePins makes bulk orders after customers check the sample and confirm specifications. Sampling is individually quoted. Do not assume a change from print to enamel, or the reverse, inherits approval from the earlier construction. The sample approval checklist helps record the reference and approval scope.
8. Keep a decision record for future orders
Save the selected file, rejected alternatives with reasons, final specification, sample reference and approval together. This prevents the next buyer from treating an early printed preview as the approved enamel drawing.
Record why you chose the route. “Must preserve the photographic image” is useful on a reorder; “looked best” gives a new reviewer little to work with. State which details may be updated, such as a year, and which should remain fixed.
A process change on a future order deserves a fresh review. Ask what transfers unchanged and what needs new artwork, tooling, sampling or pricing. A previous order helps identify the intended result; it does not guarantee a new route will match it automatically.
Frequently Asked Questions
They are a route to discuss when continuous tones or photographic identity are important. Send the original image and finished dimensions, and compare the proposed result on a sample. The word “printed” does not establish that every detail in any file will remain clear.
That depends on the artwork and construction. Ordinary enamel fills use separated color areas, so gradients or very fine arrangements may require adaptation or another process. Ask for changes to be identified before approving the artwork.
No single coating arrangement should be assumed from the category name. Ask the supplier to identify the proposed image method, coating if any, surface appearance and sample route. Confirm the actual specification in the quote.
Request matched quotations for feasible versions of that logo. Hold dimensions, quantity, attachments, packaging and delivery scope constant, then identify separately charged development. The lowest headline unit price is not necessarily the lowest comparable total.
Discuss the change before bulk production is released. Ask for revised artwork and specifications, the effect on cost and timing, and which sample checks must repeat. Approval of one construction is not automatic approval of another.
Discuss the artwork you want to preserve
Send your logo, illustration or reference image, intended use, quantity per design and the details that cannot change. You can start with an idea or sketch; the comparison brief can be completed together as the choices become clear.
Explore printed pins and enamel pins, or contact WisePins to discuss an appropriate interpretation and sample.
Discuss Your Project