
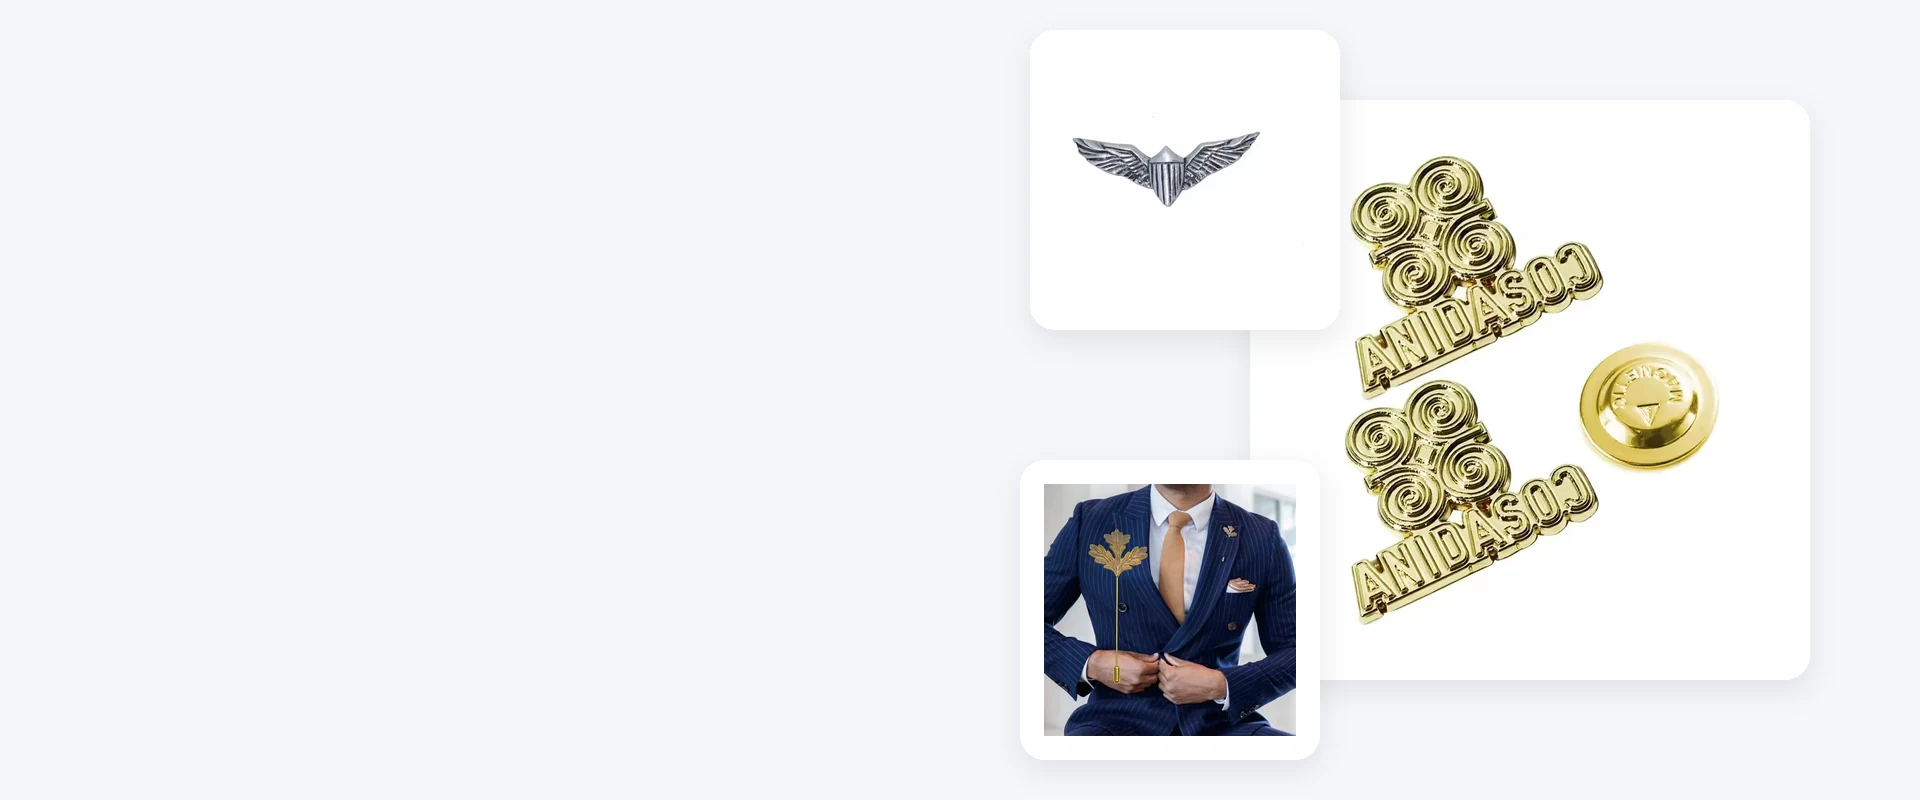
Custom Die Struck Pins
At WisePins, we make custom die struck pins that bring your crest, emblem or lettering to life through raised and recessed metal detail.
Die Struck Pins Built Around Your Metal Design
- Minimum order quantity: 500 pieces per design, with different designs counted separately.
- Choose defined 2D levels or contoured 3D relief, with an outline and size shaped around your artwork.
- Shape your logo, lettering, or emblem with raised and recessed metal details and a suitable surface finish.
- Select the base metal and backing to suit the relief, pin dimensions, and intended use.
- We can check material or compliance requirements for your metal pin before preparing a quote.
Create Your Metal Pins with WisePins
We help you turn a flat emblem or a reference idea into a metal pin with the depth, finish and presentation you want.

1. A Focus on Custom Metal Pins
Established in 2010, WisePins specializes in custom pins and badges. Die struck designs are part of our range for crests, emblems and commemorative pieces.

2. Our Own Factory
We have our own factory with a 27-person team. Your approved sample and specifications guide the materials and production for the order.

3. Help Translating Your Emblem
You can start with a logo, a photograph or an idea for a crest. We help you decide which details to raise, recess or simplify for a clear metal design.

4. A Sample You Can Check
A sample lets you see how light falls across the relief and finish. You can check the result in metal before approving the specifications for bulk production.

5. Checks Before Dispatch
We check colors and artwork, dimensions and appearance, backings, quantities, and packaging against the agreed requirements. Problems found are addressed before dispatch.

6. Project Photos and Videos
Factory or production photos and videos can be provided for your pin project, with the coverage agreed for the order.
Find the Metal Look for Your Pin
A crisp logo, a sculpted emblem or an antique-style crest each creates a different impression. Bring us the design or reference you like, and we will help choose the metal treatment.
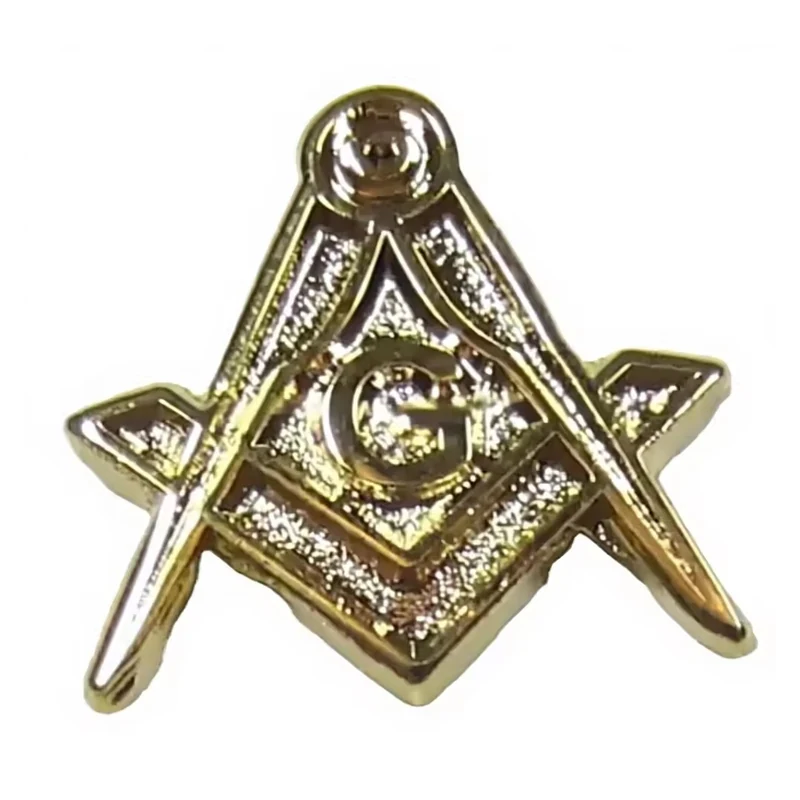
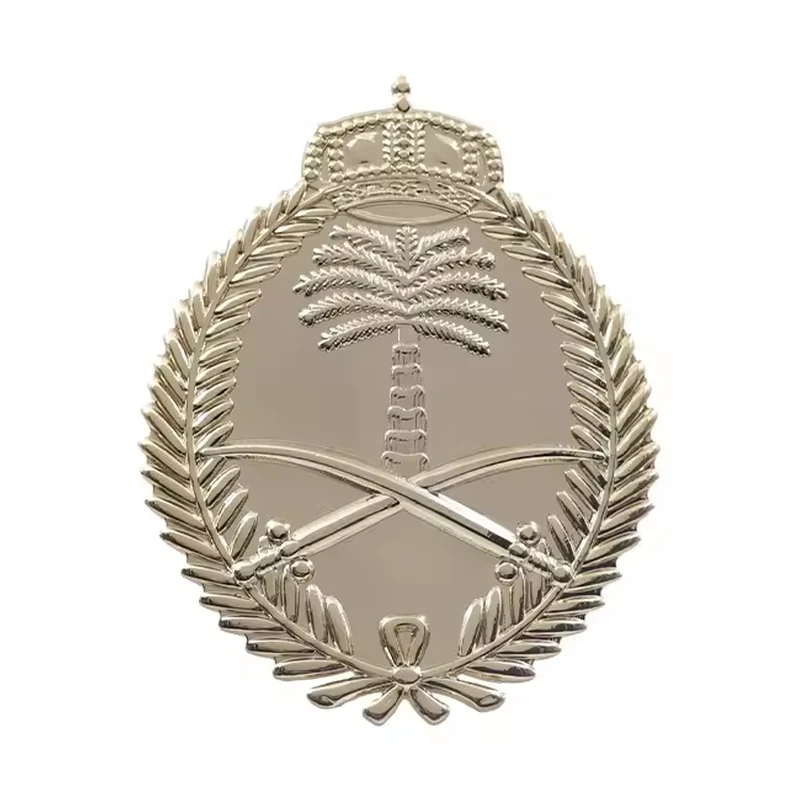
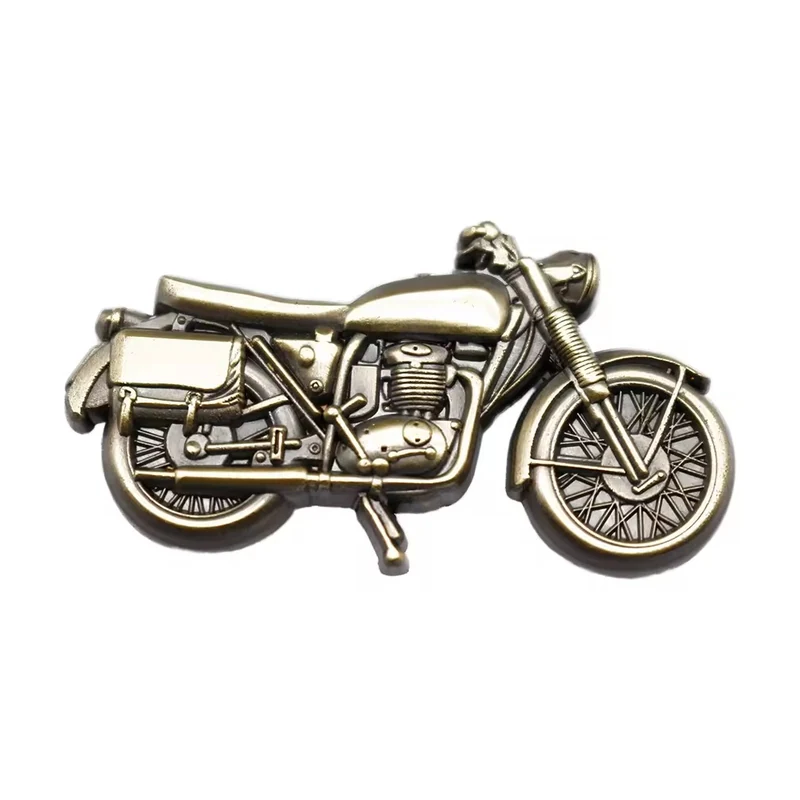
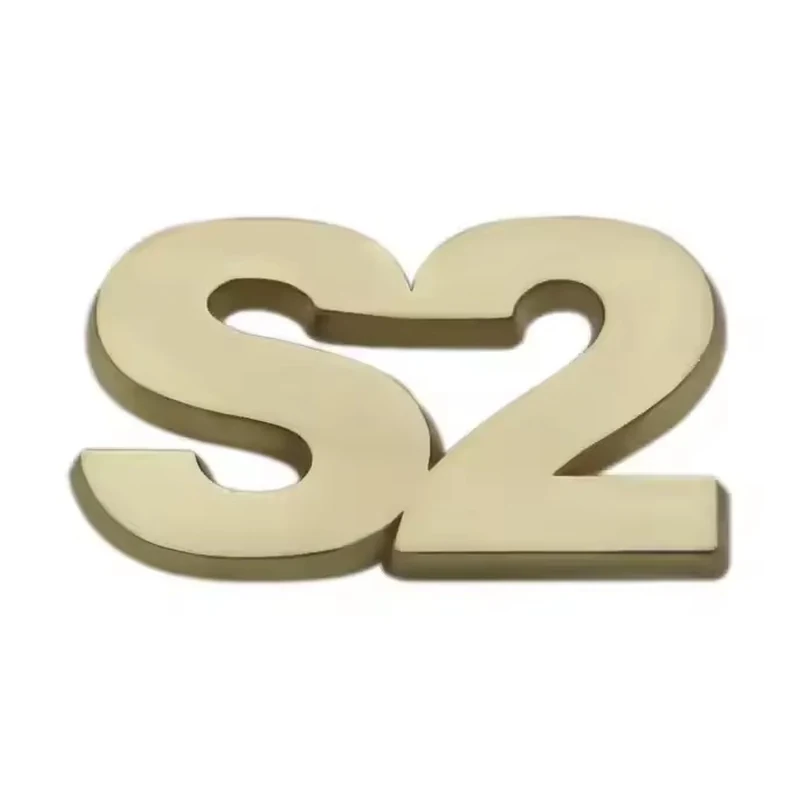
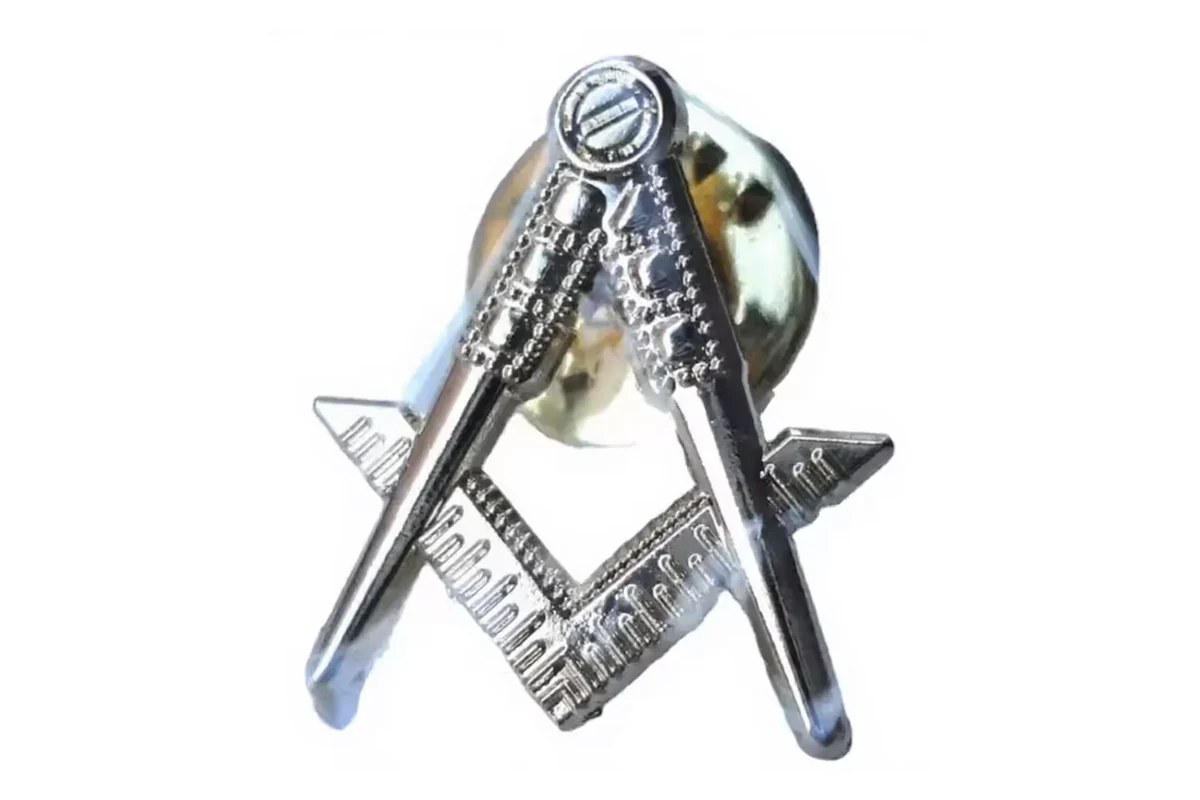
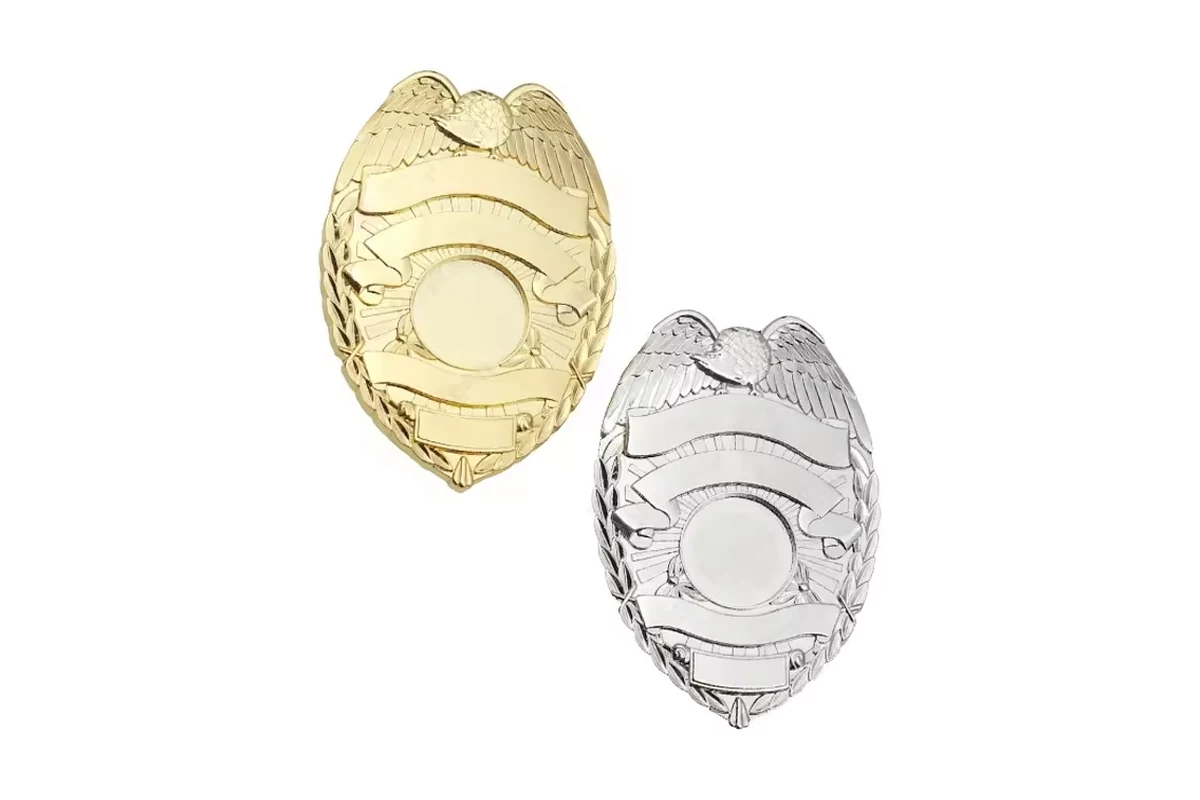
Choose Defined Levels or Contoured Relief
The way the metal is formed changes how the artwork catches light. Choose a relief approach that suits the lines and shapes in your design.
- 2D Metal Designs
Defined raised and recessed levels create clear edges around a logo or emblem. This works well when the design relies on distinct outlines. - 3D Metal Designs
Contoured relief adds shaped surfaces rather than a single flat raised level. Consider it when the form of the symbol is part of the design. - Raised Lettering
Raised lettering puts a name, date or motto into the metal itself. We help balance letter size and spacing so it reads clearly on the pin. - Recessed Detail
Recessed areas separate raised symbols and lettering. We check narrow gaps and fine details against the pin size and tooling before the sample is made.
Give the Emblem the Right Outline
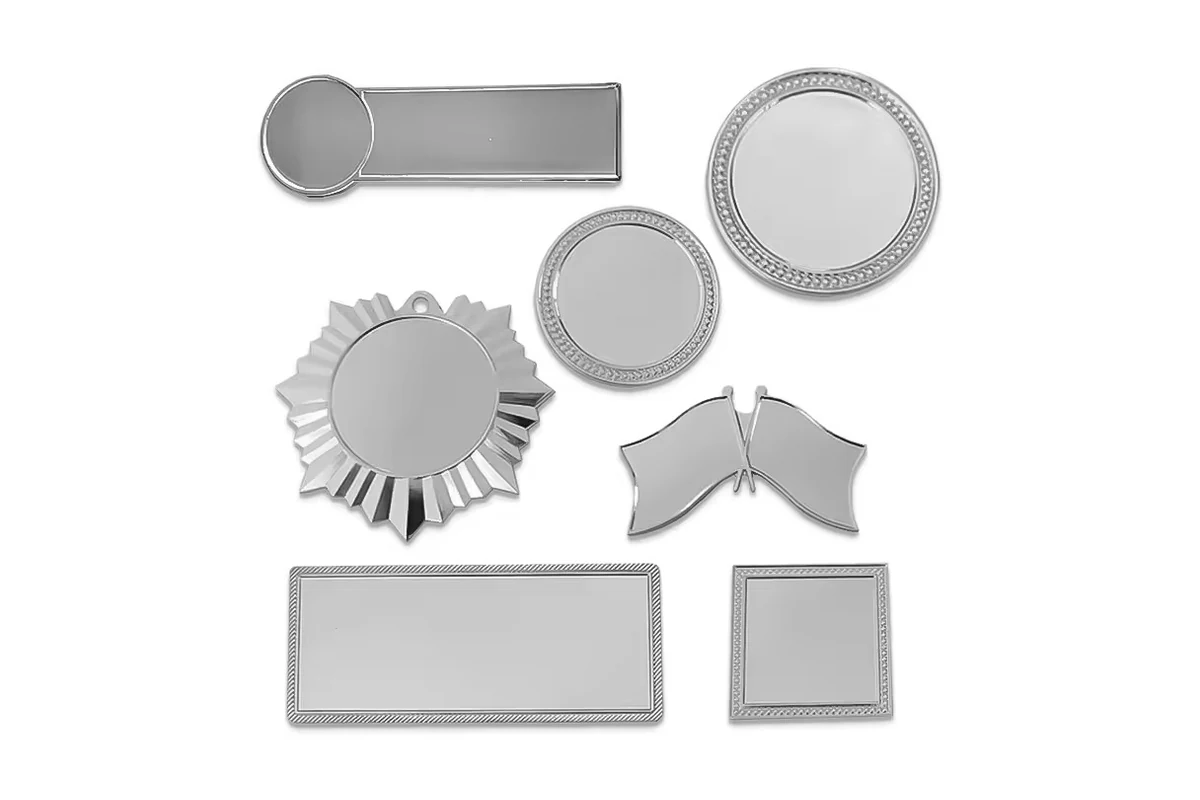
A border can frame the design, or the pin can follow the emblem itself. Set the proportions around both the artwork and where the pin will be worn.
- Round and Oval Borders
A round or oval border gives a centered crest or seal a complete frame. We leave room for the emblem and its surrounding metal detail. - Square and Rectangle Frames
Straight edges suit a structured logo, name or horizontal emblem. The frame can follow the proportions of the artwork instead of forcing it into a circle. - Custom Die-Cut Outlines
Follow the silhouette of a symbol or crest for a distinctive outline. We help refine fine projections and narrow sections so the shape works as a metal pin. - Dimensions and Thickness
Larger dimensions can give a detailed crest or small lettering more room. We help balance that detail with the wearing position, then confirm the width, height and thickness for your design.
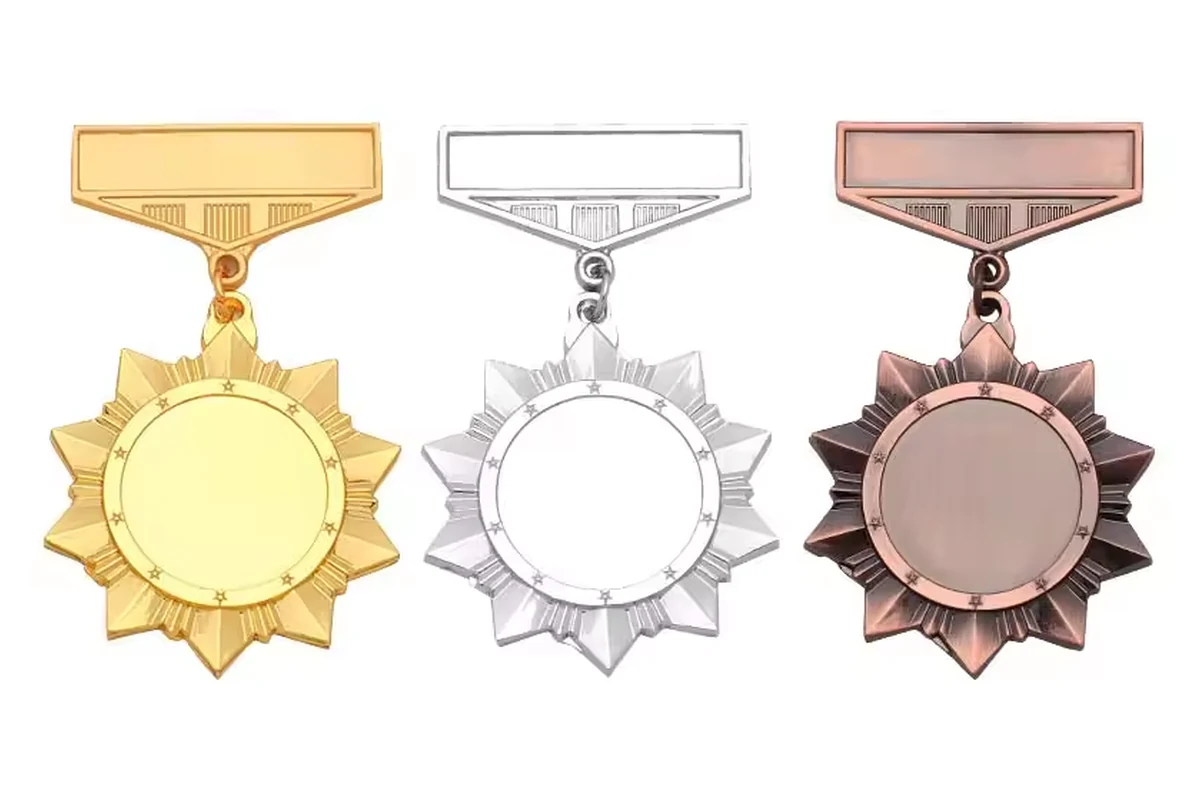
Set the Tone with the Metal Finish
A bright finish, a darker tone or an antique effect changes how the relief appears. Choose the look you want, and we will help match it to the metal design.
- Gold and Silver Finishes
A gold-colored finish gives the emblem a warm tone; a silver-colored finish gives a cooler appearance. These are finish choices, not descriptions of solid precious-metal content. - Nickel and Black Nickel
Nickel provides a bright metallic appearance, while black nickel gives a darker tone. Consider how the finish will affect the visibility of the raised details. - Antique Gold, Silver, or Brass
Antique gold, antique silver and antique brass give the pin an aged metal appearance. They suit heritage-style crests and commemorative designs where the metal is the focus. - Polished Metal Appearance
Polished metal catches light across the emblem and its raised surfaces. Choose it for a brighter presentation, with the final balance of shine and detail visible on the sample.
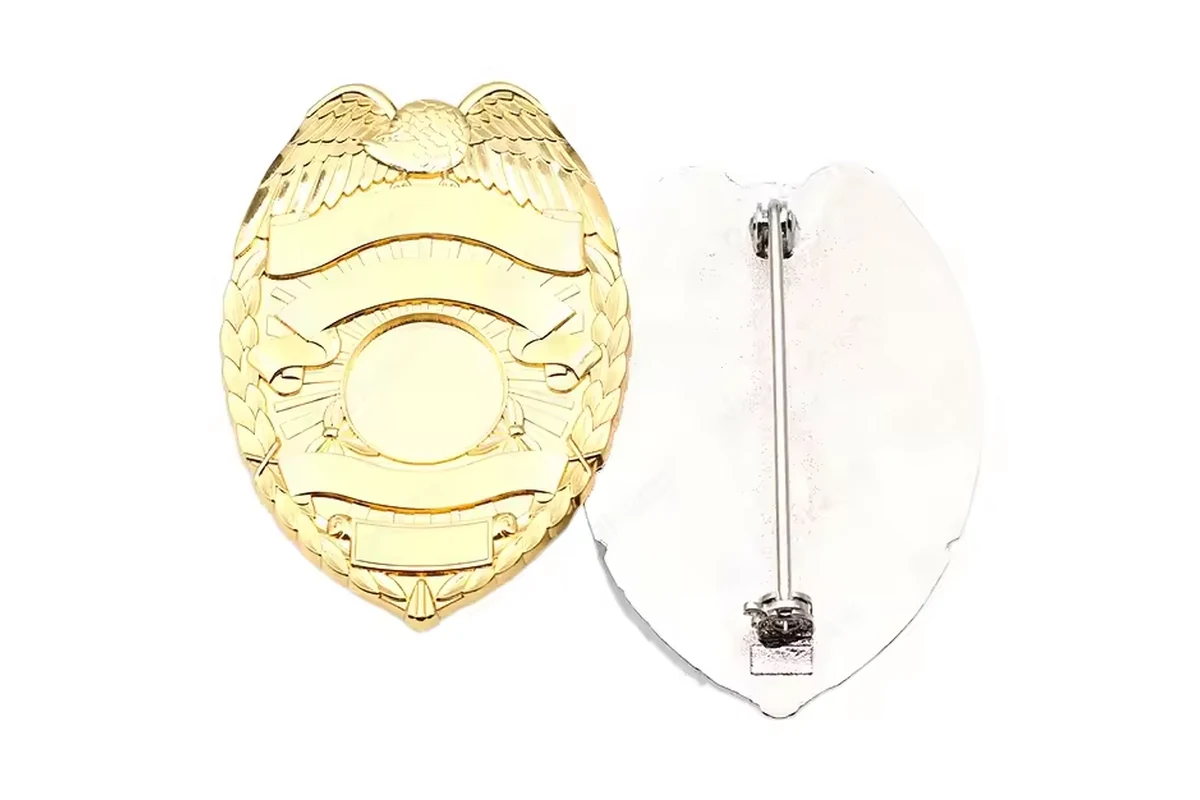
Match the Backing to the Way It Is Worn
Match the fitting to a lapel, uniform or bag and to the size of the finished pin. We help choose an attachment that works with the metal shape.
- Butterfly Clutch
A butterfly clutch is a metal fitting for a pin post. It is a choice for lapel emblems and pins mounted on a display card. - Rubber Clutch
A rubber clutch gives the pin post a softer rear fitting. It is an alternative when you prefer rubber to a metal clutch against the back of the item. - Safety Pin
A safety pin uses a pin-and-catch closure on the reverse. We check whether the pin shape provides suitable room for that fitting. - Magnetic Backing
A magnetic fitting avoids a pin post through fabric. Suitability depends on the pin design and the material it will attach through.
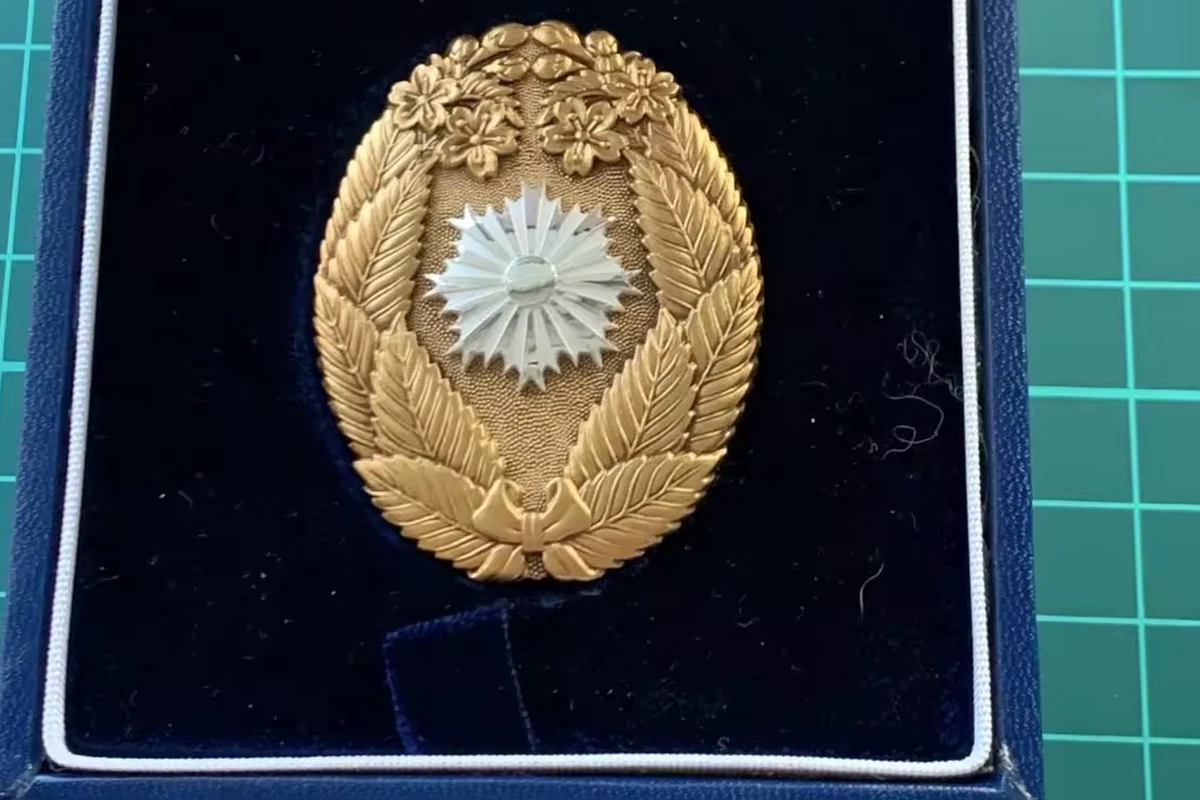
Present the Metal Pin with the Right Packaging
Choose packaging for the way the pin will be handed out, displayed, or given as a commemorative gift.
- Individual Poly Bags
Individual poly bags separate the pins for packing and distribution. Choose them for a simple individual pack that keeps each pin and its fitting together. - Backing Cards
Put the emblem beside your organization name, event title or brand artwork on a backing card. It gives the pin a display format for distribution or retail presentation. - Paper Gift Boxes
A paper box creates a distinct presentation package for a recognition or commemorative pin. Match the box to the pin and its backing. - Velvet Pouches and Branded Packs
A velvet pouch gives a metal pin a soft presentation for gifting. Custom branded packaging can extend your emblem or organization identity onto the pack.
Match the Base Metal to the Relief
A die struck pin is defined by its metal detail. We consider the base material, shape and finish together so the design can work as a finished piece.
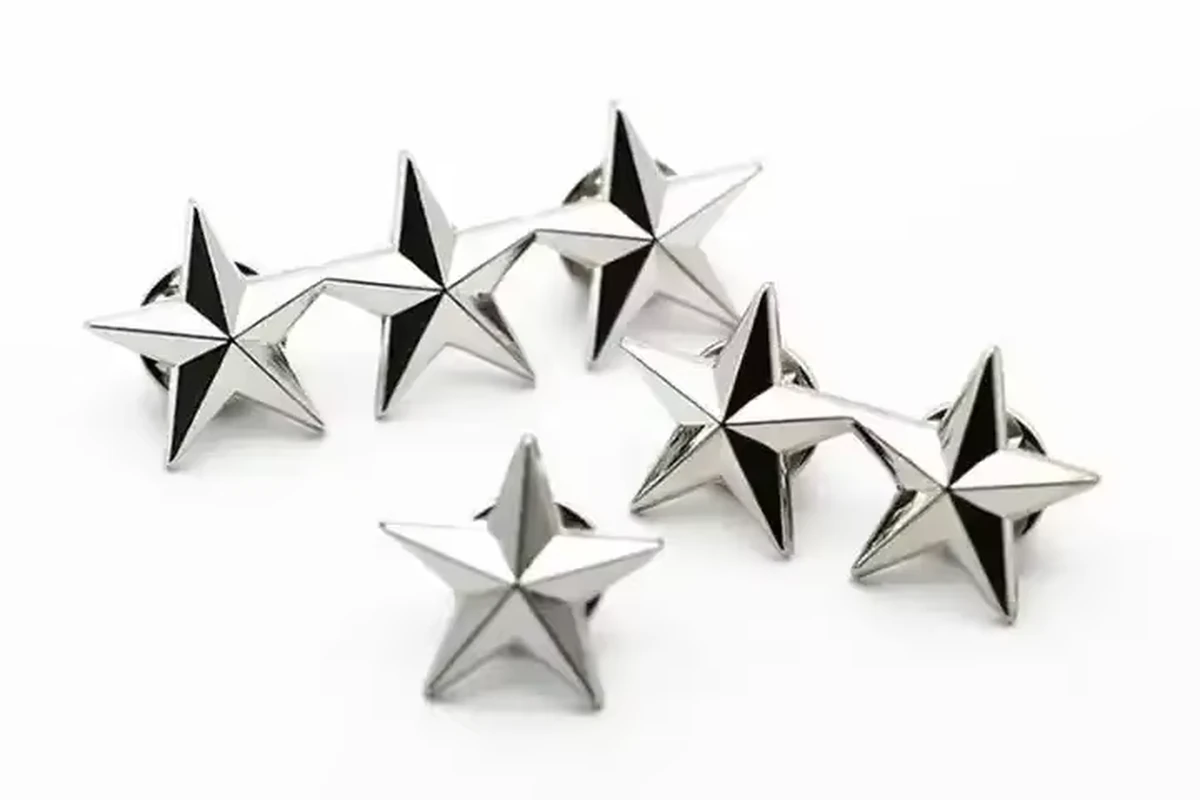
Base Metals and the Relief Design
Iron, brass, zinc alloy and stainless steel are available across our wider pin range. For your die struck pin, we help select the material to suit the relief and finish; the available metals are not interchangeable in every design.
Discuss Base Metals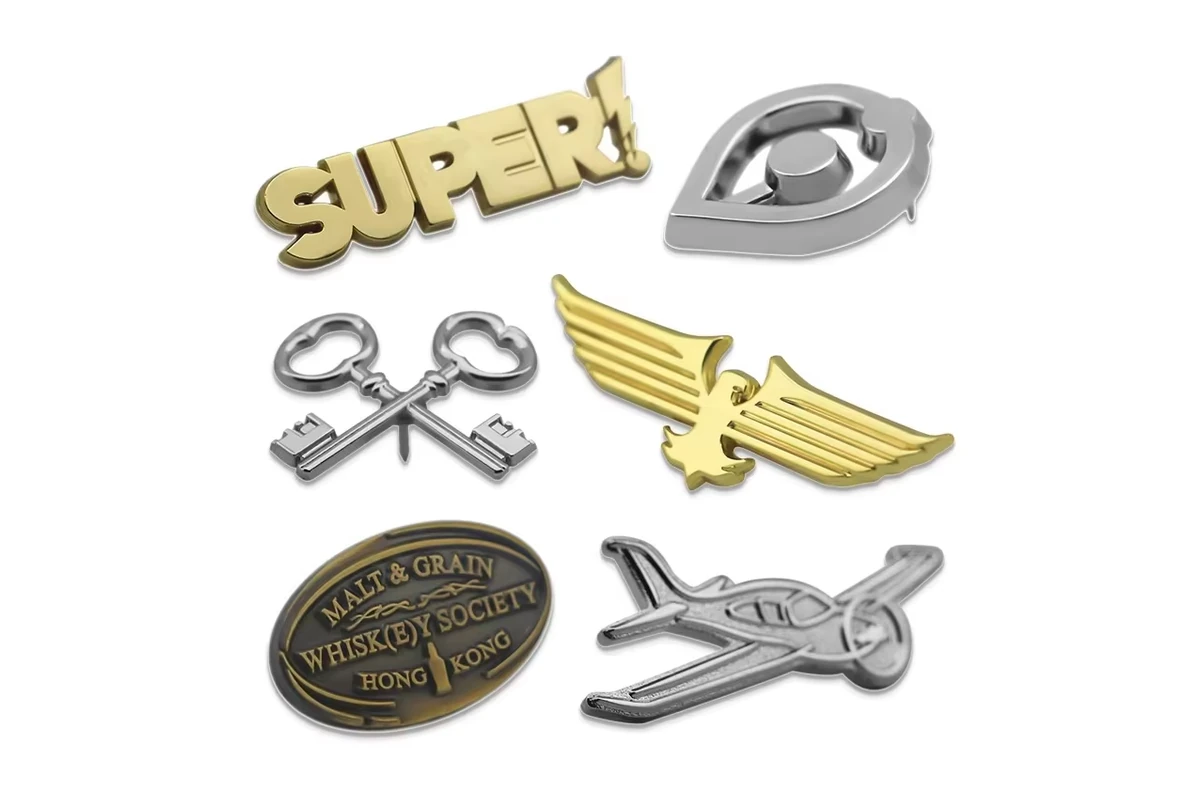
Base Metal and Surface Color
Brass is a copper-zinc alloy, while zinc alloys have a different base composition. Iron and stainless steel also differ in corrosion behavior, so a gold, silver, or antique finish alone does not specify the underlying metal or its performance.
Compare Material Options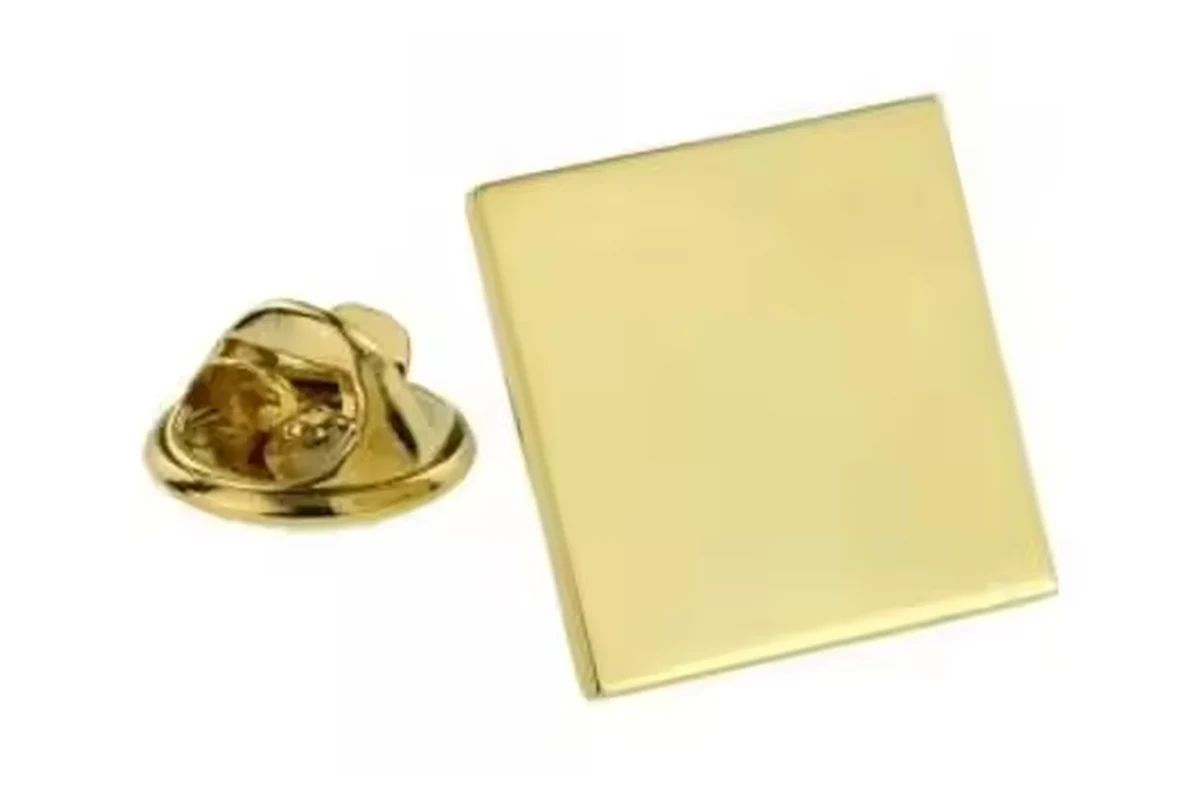
Material and Compliance Needs
Have a material restriction or compliance requirement for your organization? We can review it with the proposed metal pin and confirm what we can meet before quoting.
Discuss Project Requirements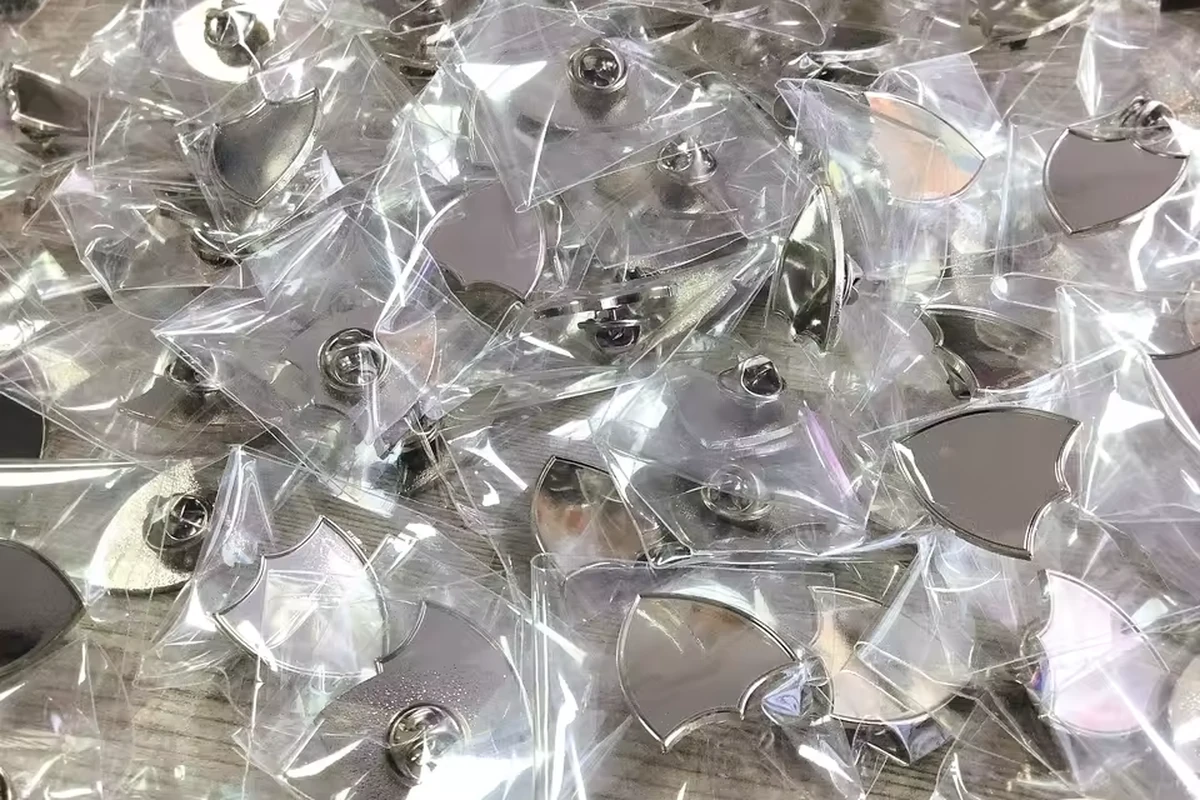
See How Your Die Struck Pins Are Made
Formed metal creates the raised and recessed design, while the chosen surface finish defines its color and reflected light.
Have an Emblem You Want to Make in Metal?
Send the emblem, a reference photo or a description of your idea. We will help you choose the relief, size and finish; an estimated quantity is useful if you already know it.
Get a Die Struck Pin QuoteDie Struck Pin Ordering Questions
Answers about metal detail, samples and planning your die struck pin order.