
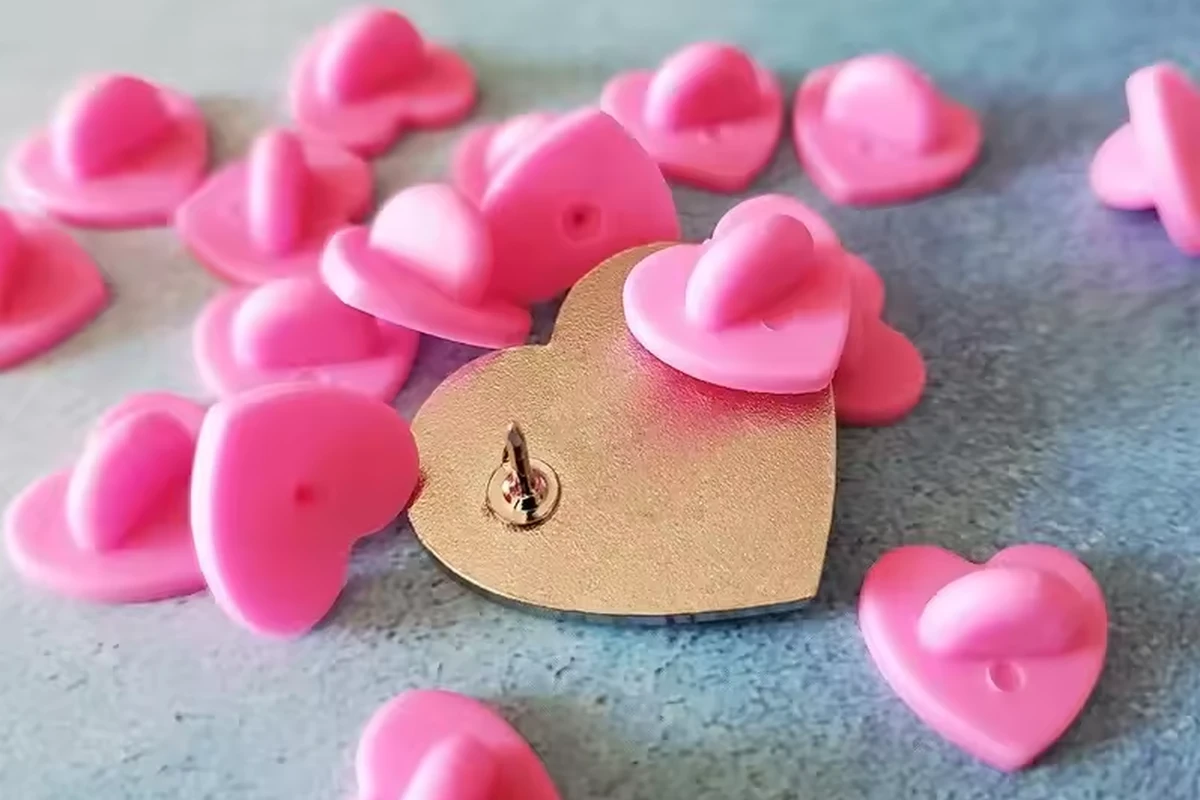
For a post-mounted pin, shortlist butterfly or rubber clutches first; compare a defined locking clutch when deliberate release matters. Consider a magnetic arrangement when the garment must not be pierced, or a safety-pin arrangement when a bar-style fastener suits the badge. Then check the complete pin, wearing surface, handling and packaging together.
This guide compares the options WisePins can discuss for suitable products: butterfly clutch, rubber clutch, safety pin, magnetic backing and deluxe clutch. It provides a practical buying method, not a universal strength rating or a promise that every option fits every badge.
1. Describe the wearing situation before the attachment
Start with a short use statement. “A logo pin worn on a jacket lapel and presented on a card” describes a different task from “a decorative badge on a bag that is moved frequently.” Give the manufacturer the context before selecting a backing from a photograph.
| Context to provide | Why it helps the selection |
|---|---|
| Intended garment, bag or display surface | The assembled attachment needs to work with that surface |
| Position and desired orientation | A long or asymmetric pin may present differently when attached |
| Frequency of fitting and removal | Handling and access to the reverse matter |
| Product dimensions and construction | The available reverse area affects placement |
| Presentation and packaging | The closure needs clearance behind the pin and card |
| Organization's use requirements | Any mandatory conditions need review before quotation |
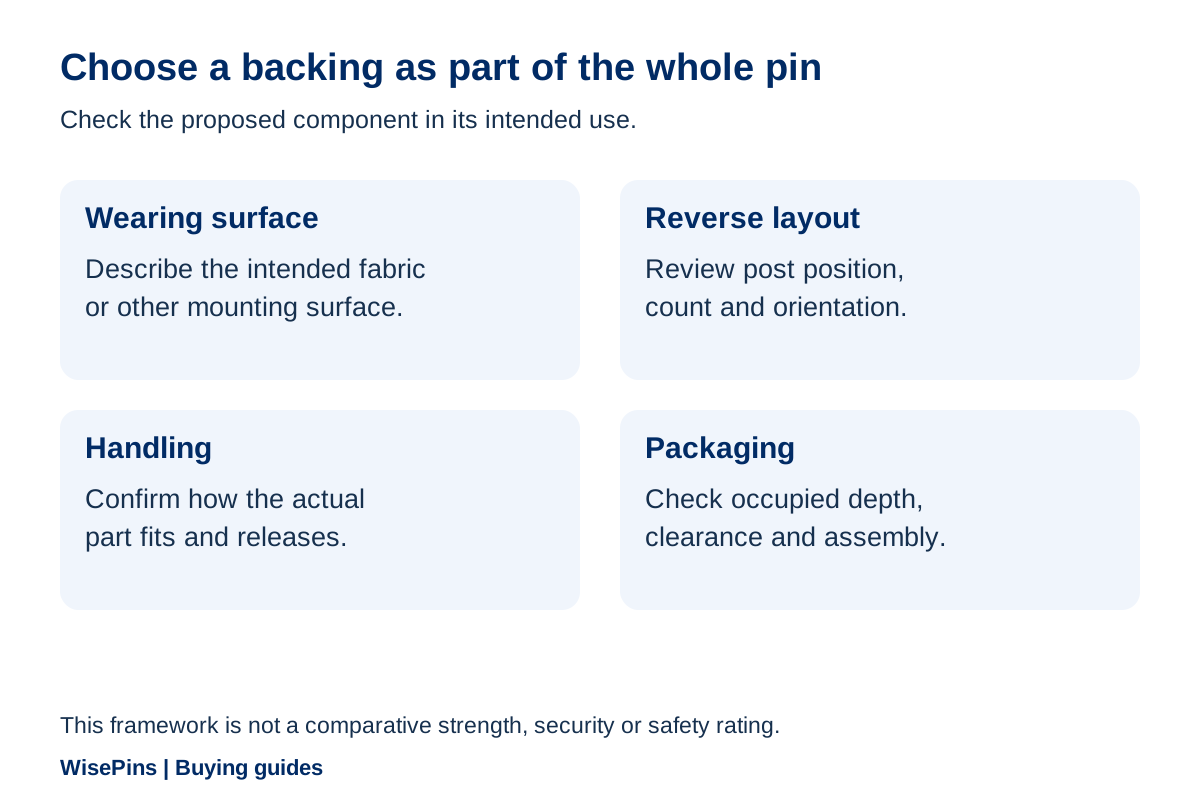
Where practical, review a sample using a representative surface and the intended wearing position. An attachment that opens easily in your hand may be awkward to reach after mounting. A flat layout drawing cannot settle that handling question.
2. Identify the actual mechanism behind each label
Clutch systems combine a post on the pin with a closure that engages it. A safety-pin arrangement uses a different fastening construction; magnetic arrangements use a paired attachment rather than simply replacing the end of a post. Signature Pins illustrates these attachment categories.
The mechanism descriptions below cover common constructions. Lapel Pins Plus documents examples of these operating actions; the shortlist and sample checks are a purchasing framework, not a strength ranking.
| Option | Common mechanism | Put it on the shortlist when… | Main tradeoff to check |
|---|---|---|---|
| Butterfly clutch | Spring metal closure grips a post; squeezing its tabs releases it | A post-mounted pin suits the use and the wearer can reach the release tabs | Requires piercing and enough finger access behind the pin; check post/closure fit |
| Rubber clutch | Flexible cap grips the post by friction; fitted by pushing on and removed by pulling off | A simple push/pull action is preferred over squeezing metal tabs | Still needs a post and a puncture; check the proposed cap on the actual post through repeated intended handling |
| Safety pin | A hinged needle passes through the material and closes into a catch | A bar-style attachment suits the badge layout or issuing method | Needs room for the needle to open and close; confirm the available reverse area and orientation |
| Magnetic backing | Two mating parts hold across the material without a piercing post | Avoiding a puncture is a firm requirement and the proposed assembly suits the use | Both parts must locate through the actual material thickness; check movement and handling on that material |
| Deluxe clutch | Often a locking post closure; some versions release by lifting a collar | A deliberate release action is wanted and the exact component has been identified | Component names vary; check its release access, post compatibility and occupied depth |
Treat “deluxe” as a supplier label that needs clarification. Ask for a component photo or sample and operating instructions. A collar-release model illustrates one construction; it does not establish the exact mechanism WisePins will quote for your project.
For example, a carded retail pin with a straightforward post layout can begin with butterfly and rubber alternatives, using the same pin and card for the comparison. A garment that must not be pierced excludes those post-mounted options from the initial shortlist and shifts the discussion to a compatible magnetic assembly. A long badge that rotates needs a reverse-layout review as well as a closure choice. These starting decisions save time because each option answers a defined requirement.
Do not carry another supplier's standard post size, included price or performance claim into your brief without agreement. The quotation should identify the components that will actually be fitted to your product.
3. Review placement, count and orientation together
Ask for a reverse-side drawing related to the upright front view. Mark attachment locations and identify any proposed back text or logo that needs space. If the reverse is shown separately, label its viewing direction so placement is not interpreted as a mirror-image instruction.
The number and position of attachment points are design decisions. Discuss them with the manufacturer rather than adding a second post at an arbitrary distance. The outline, reverse area, construction, intended orientation and packaging all enter the review.
For a long or asymmetric badge, explain how it should sit. If the sample turns or tilts in the intended arrangement, record that observation and ask for an appropriate adjustment. Do not assume every orientation issue can be solved merely by changing the clutch type.
| Concern found during review | Useful information to send |
|---|---|
| Badge does not sit in the desired orientation | Front and rear views in the actual wearing position |
| Closure is difficult to reach | The fitting position and the handling step causing difficulty |
| Back text conflicts with an attachment | Labeled reverse artwork and proposed component location |
| Package presses on the closure | Complete packaged sample and the area of contact |
| Requested attachment differs from the sample | Quoted component reference and actual sample views |
This makes feedback about the whole assembly. “The badge tilts when placed here” gives a supplier more to investigate than “use a stronger back.”
4. Evaluate handling with the intended surface
Follow the component's fitting and release instructions. Check whether the assembled pin can be positioned, secured and removed as intended, without forcing or improvising a different action.
Use representative material where the project requires it. A thin display card, soft fabric and a structured garment are not identical test conditions. Record what you actually reviewed so an observation on one surface is not treated as evidence for every use.
Check the product upright and during ordinary handling appropriate to the project. Note changes in orientation, unwanted contact, difficulty operating the closure and any mismatch with the expected presentation. If there is a concern, stop treating the sample as approved and ask for a revised proposal.
Normal handling is not a pull-force or lifetime test. If a quantified performance requirement is essential, define the requirement and agree an appropriate assessment before placing the order. This guide does not supply a generic load, cycle count or “never falls off” promise.
For a magnetic proposal, explain the wearing context and any organizational restrictions at the start. Have the relevant requirements reviewed for the actual product. Availability in a supplier's range is not evidence of suitability for every wearer or setting.
5. Include the backing in the packaging design
A backing card needs to accommodate the assembled attachment, not only the front outline of the pin. Confirm the proposed post locations and how the pin will be mounted before finalizing holes, slots or printed elements on the card.
For a box or pouch, include the reverse-side projection and any protective arrangement in the fit review. Do not judge usable depth from a front-facing photograph. The pin may fit in plan view while the closure presses against another component when the package is shut.
Agree who supplies the card, who mounts the product and whether any closure fitting or assembly is included in the quotation. Ask how the product will be packed for transport and presented to the recipient. These are different handling stages.
If the attachment changes after the package is approved, check the complete assembly again. A small component change can alter the required space or the recipient's removal method. Preserve the card and packaging revision alongside the pin specification.
6. Compare attachment costs on a defined order
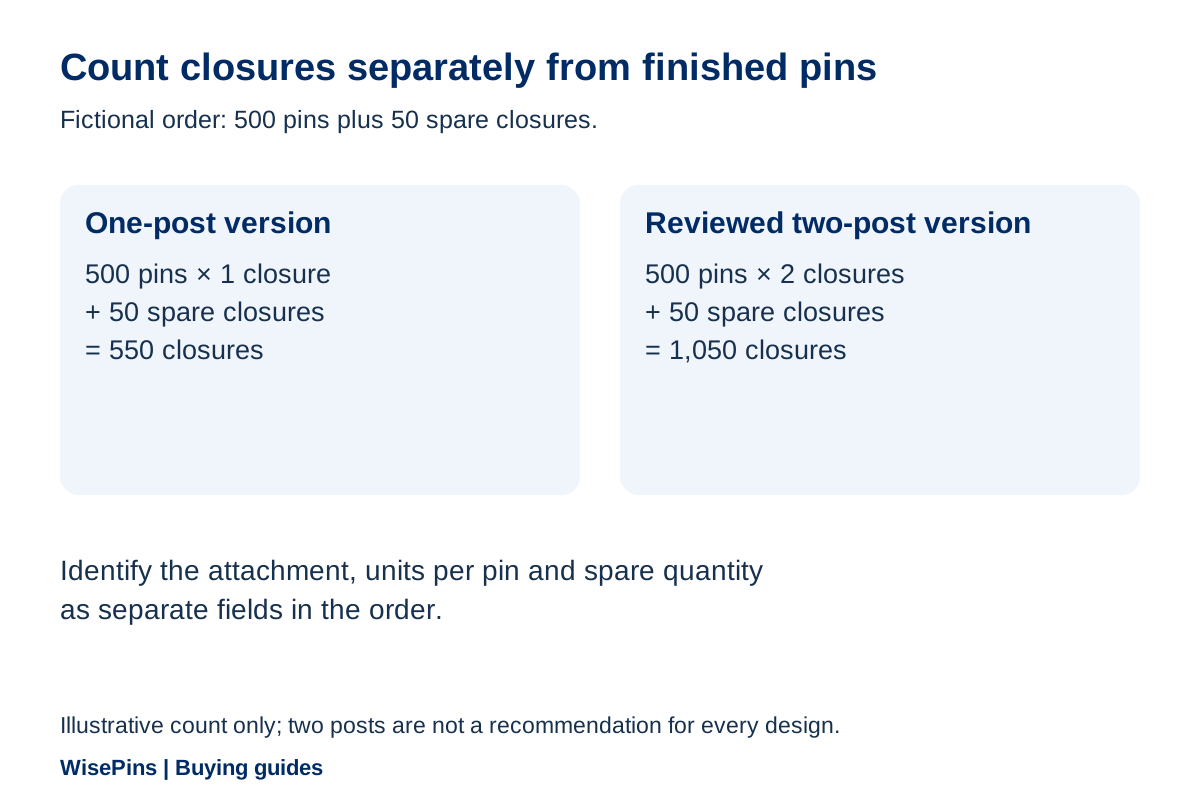
Ask the quotation to name the attachment type, component reference where applicable, count, placement and any mounting work. Distinguish the finished pin quantity from the number of closure components required.
Hypothetical planning example: an order contains 500 pins. A one-post version needs 500 matching closures; a reviewed two-post version needs 1,000 closures. If the buyer also requests 50 spare closures, the totals become 550 and 1,050 respectively. These figures demonstrate component counting, not a recommended attachment count, spare allowance or price.
The supplier must confirm the actual design and quotation. Do not multiply an unrelated online clutch price and assume it gives the cost of changing a complete manufactured pin. Assembly, construction and packaging may also change.
WisePins' minimum is 500 pieces per design, calculated separately across different designs. A backing alternative should be quoted with its full product specification and any development or sampling implications. Use the quote comparison guide to keep the options comparable.
7. Approve the attachment as part of the sample
Check the sample against the agreed front and reverse artwork and specification. Confirm the component, count, position, release action and the intended wearing or presentation arrangement.
Use an approval record with separate entries for:
- Product and sample identifier.
- Attachment description and reference.
- Position and orientation on the reverse.
- Surface and handling conditions reviewed.
- Card or package revision, if applicable.
- Observations, unresolved issues and final approval scope.
A photograph is useful for locating a component, but it cannot reproduce the entire handling experience. A video can demonstrate a particular action without establishing a strength rating or long-term result. Record what the evidence actually shows.
When a change is requested, state the result needed and let the supplier identify the proposed correction. Confirm whether the reverse layout, sample, packaging, price or schedule needs revision. The sample approval guide provides a more detailed feedback method.
8. Keep a useful attachment brief and reorder record
You can send the following brief even if some fields remain undecided:
Pin design and revision: [identify]. Finished dimensions and intended orientation: [state]. Wearing surface and use: [describe]. Attachment preference or request for advice: [state]. Please identify the actual component, count, location, operation and suitability for the design. Include reverse artwork and any back text. Packaging/card requirements: [describe]. State assembly, sample and component charges separately, including any requested spares. Please identify what needs review on the complete sample.
After approval, retain the reverse drawing, actual component description, sample reference and package details. A note that only says “rubber back” may be too vague for a future buyer comparing similar-looking parts.
For a reorder, identify the previous order and state whether the product is unchanged. List attachment or packaging changes explicitly. Ask the supplier to confirm the current specification, components and any sampling needed before releasing a revised version.
Frequently Asked Questions
Shortlist rubber when you prefer a push/pull cap; shortlist butterfly when you prefer a metal closure with squeeze-to-release tabs. Both use a piercing post. Compare access, fit and removal on the same finished pin and intended surface; the category alone does not establish which assembly retains better or feels more comfortable.
The count and placement need review with the design and intended use. Ask for a suitable reverse layout and test the complete sample in its planned arrangement. Two arbitrary attachment points are not a universal orientation guarantee.
No. The label often refers to a locking clutch, and some models release by lifting a collar, but the quoted component must identify the actual construction and action. Check that the wearer can reach the release and that the closure fits the specified post and package.
No. A magnetic assembly is worth considering when avoiding a garment puncture is important, but it needs compatible front and rear parts rather than a cap on an ordinary post. Check the proposed assembly through the actual material thickness, in its intended position, and against the organization’s use requirements.
Decide whether your distribution or replacement plan needs them, then specify the component and number separately. Confirm supply and pricing. Spares are not automatically included merely because the order contains a particular quantity of pins.
Discuss the complete pin and backing
Send your design or reference, intended use, quantity per design and any attachment or packaging requirements. Explain where the pin will sit and which handling decisions you need help reviewing.
Explore custom pins and badges or contact WisePins to discuss an appropriate attachment proposal and sample.
Discuss Your Project